Ableton Live Tutorial: How to Create and Export a MIDI File
 Updated
by Jack Keough
Updated
by Jack Keough
What is Ableton Live?
Ableton Live is a Digital Audio Workstation, or DAW. This software program allows you to do anything from recording audio and MIDI, to signal processing and mixing. With Ableton, you can create files you need for teaching on Middy.
What is a Midi File?
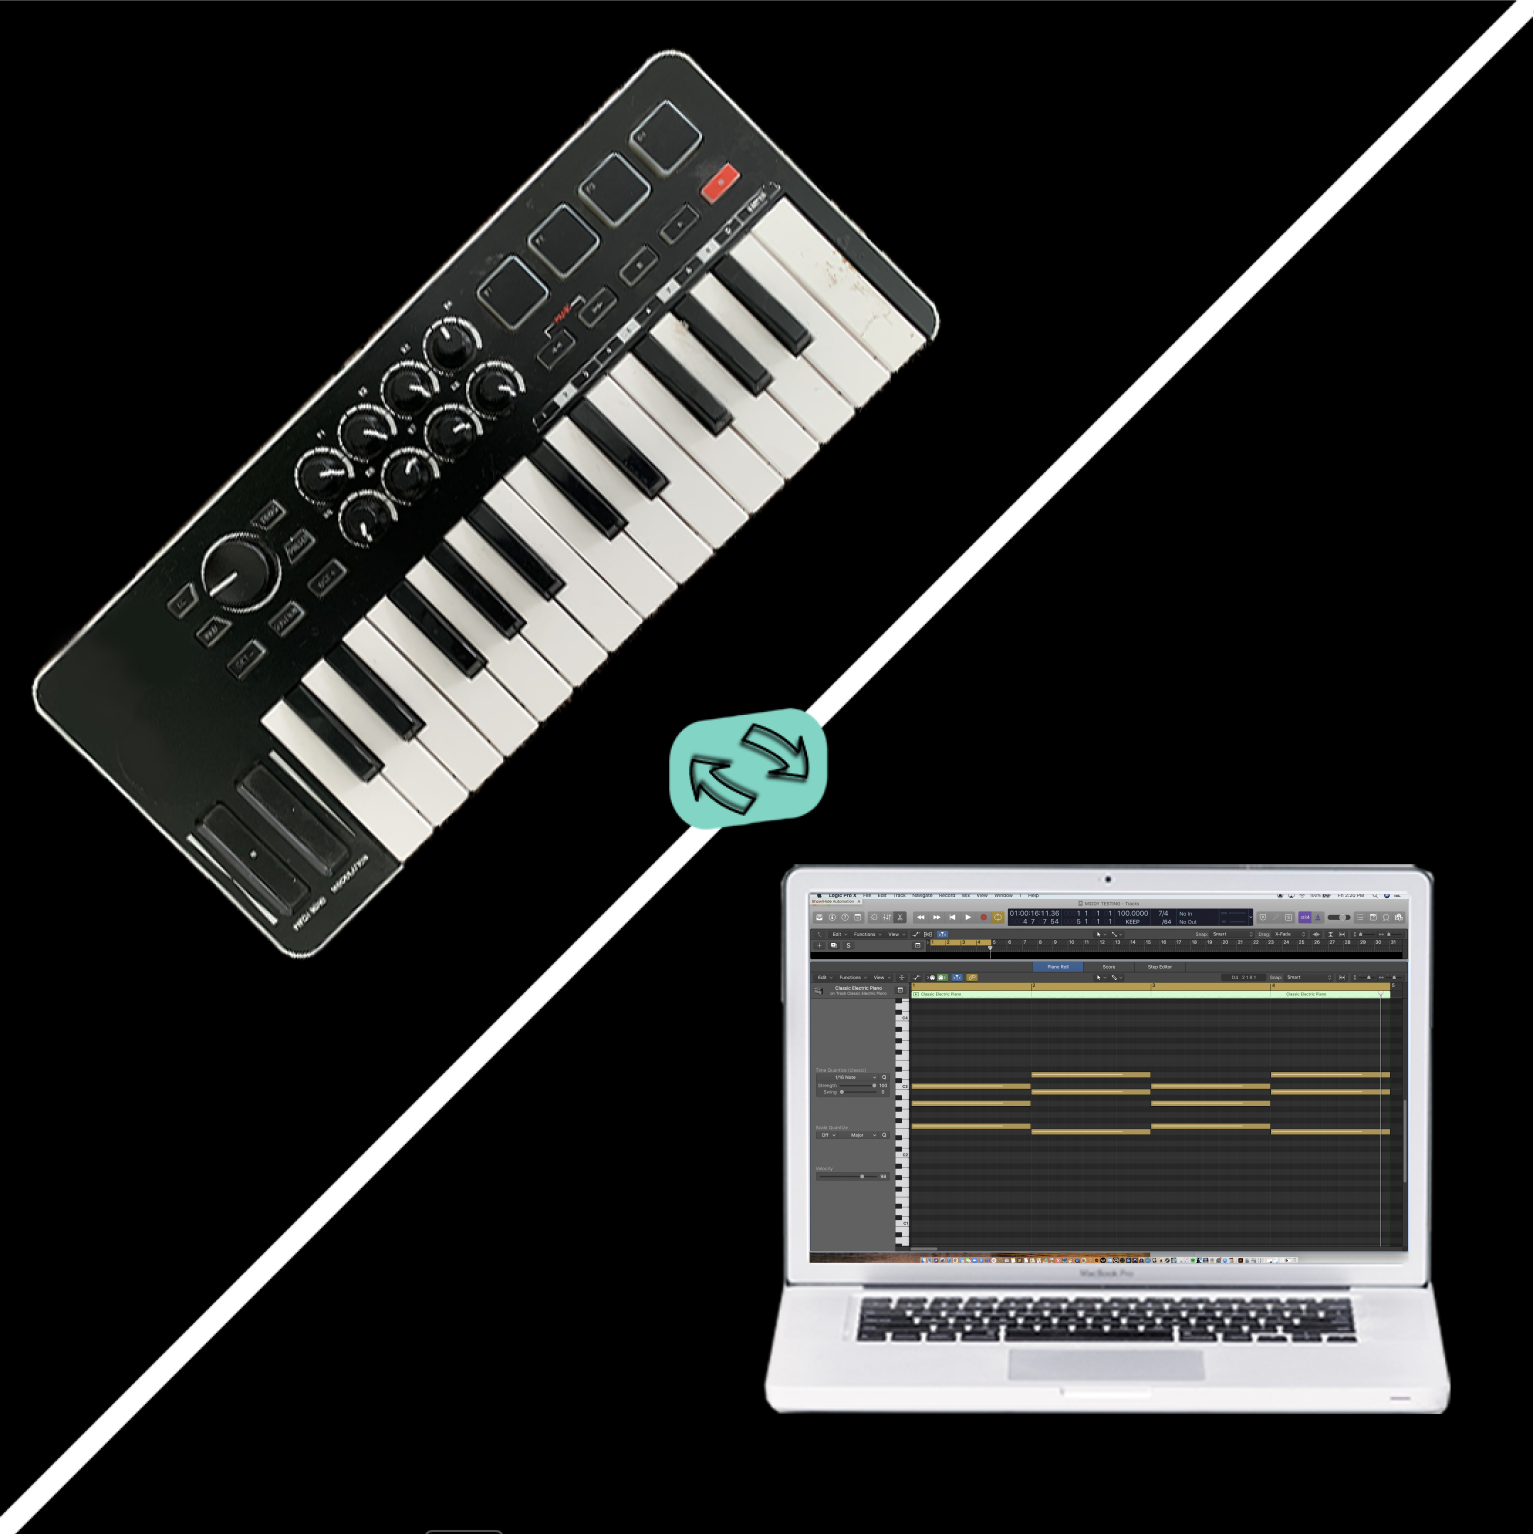
MIDI, which stands for Musical Instrument Digital Interface, is a technology where instruments such as keyboards or other MIDI controllers connect to your computer via a USB or MIDI cable to trigger software instruments. With the software instrument: pitch, velocity, and tempo of your performance are all captured. All of these elements including the instrument itself can be edited in post.
Midi Clips
In Ableton Live, midi notes are recorded and housed in a Midi Clip. The clip can be cut, cropped, dragged, stretched and transformed as you see fit.
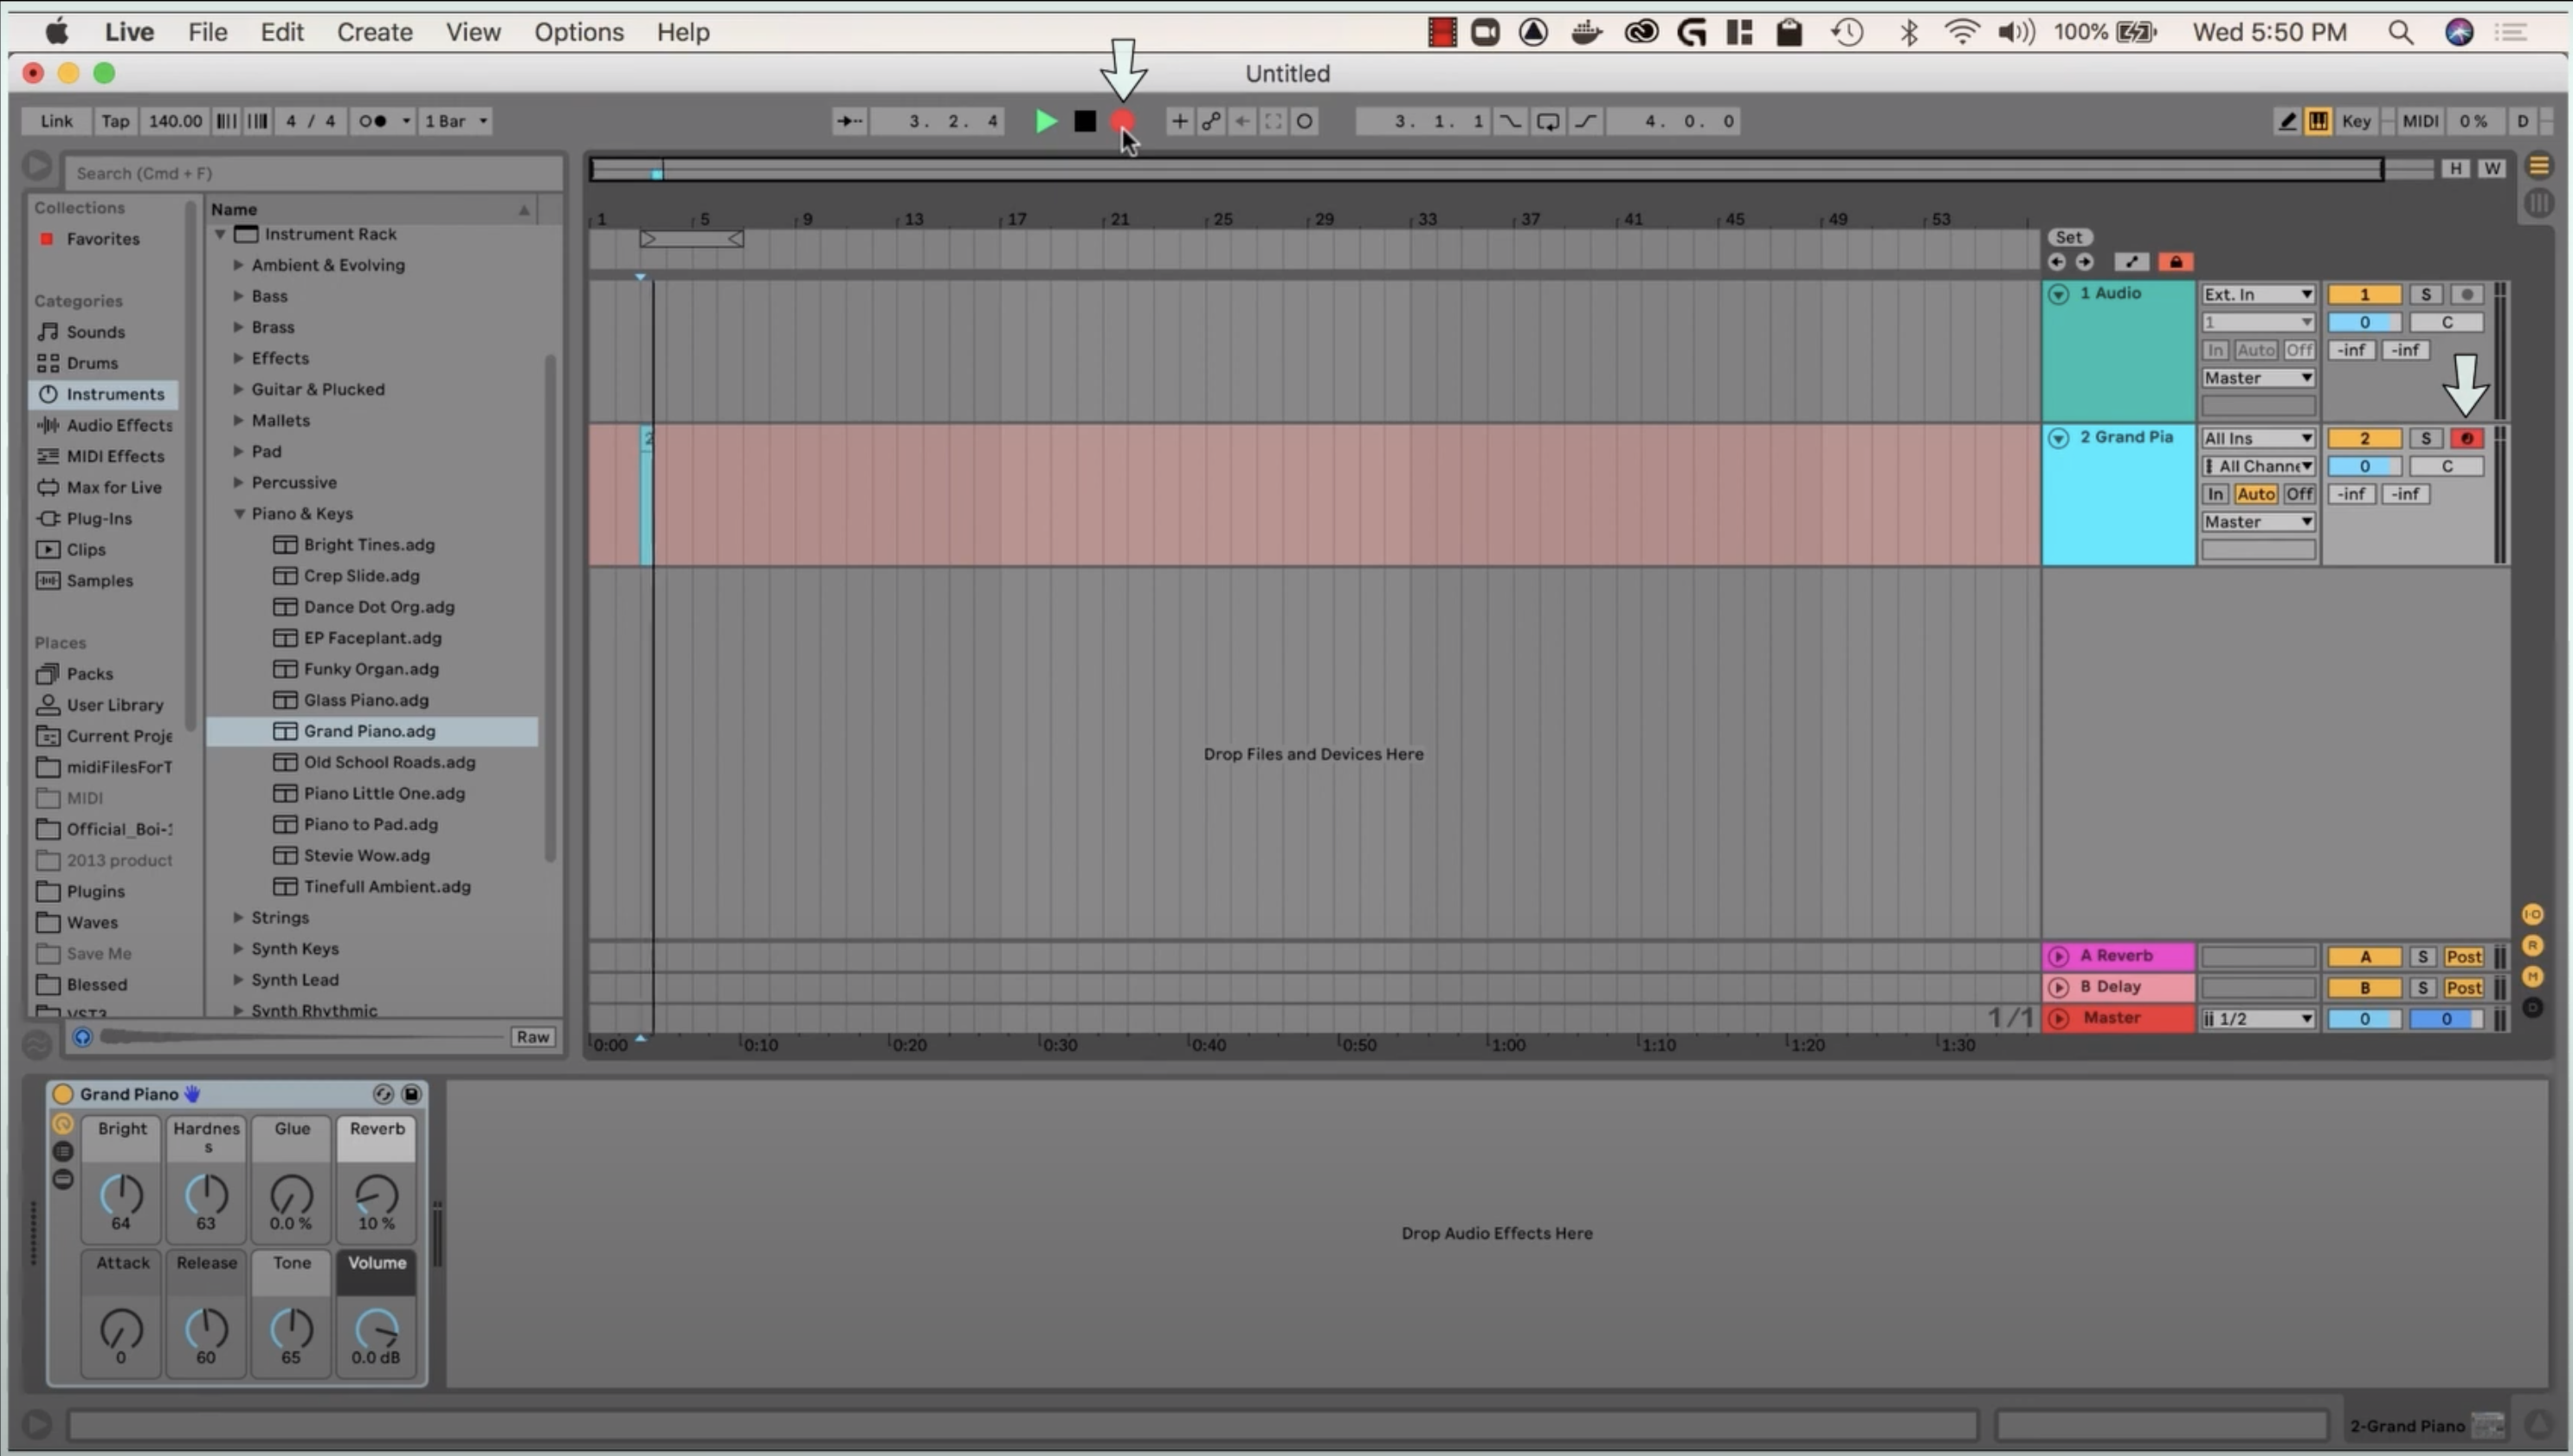
How to Create a Midi File:
- First, go to the top menu, click create, then insert MIDI track
- On the sidebar, click instruments, then select the instrument of your choice.
- Double click on the piano to add it to the MIDI track
- Lastly, record a MIDI performance using the keyboard.
How to Prepare your MIDI File for Export:
What does it mean to quantize something?
Quantizing a file is the process of time aligning all of your notes to a specific tempo. When creating a lesson in Ableton Live, it’s important to quantize the start and stop of the notes within the midi clip you want to export. This will make your exercise appear correctly when creating notation, and give your student an accurate model for what to play on Middy.
How to Quantize Your File
- Double click on your midi clip to zoom in.
- Click and drag to select the notes you want to quantize.
- Right click and select “quantize settings” from the menu.
- Set whether you want to quantize the start and/or end of these notes. For the purpose of cleaning up your piano roll for your students or exporting a file to create notation, we recommend that you quantize both the start and end.
- Specify what rhythm your selection is primarily using to snap the notes to the grid in that rhythm.
- Click ok to apply settings.

"Cropping" Your Midi Clip
You may find that you want your Middy exercise to start on a particular measure of your session, but there are blank measures at the start of your midi clip. To make sure you export at the right starting point of your midi file, you'll need to crop your clip.
How to Crop your Midi Clip
- Drag the beginning of the MIDI clip to the first measure you want your exercise to begin on.
- Right click on the clip, and click “Crop Clip.”
- Now when you zoom into the MIDI clip, the notes should start on the first measure.
Extending a Midi Clip
If you need to extend your midi clip, you may notice the file starts to loop. This is because you have the LOOP setting turned on for this MIDI clip. This extension of the MIDI clip does not affect the underlying MIDI file until you deselect the loop feature.
How to deselect the loop feature
- Zoom in on the midi clip by double clicking it.
- Click on the loop button to deselect it.
- Now when we extend the duration of the MIDI clip it creates extra measures that are added to the underlying MIDI file.
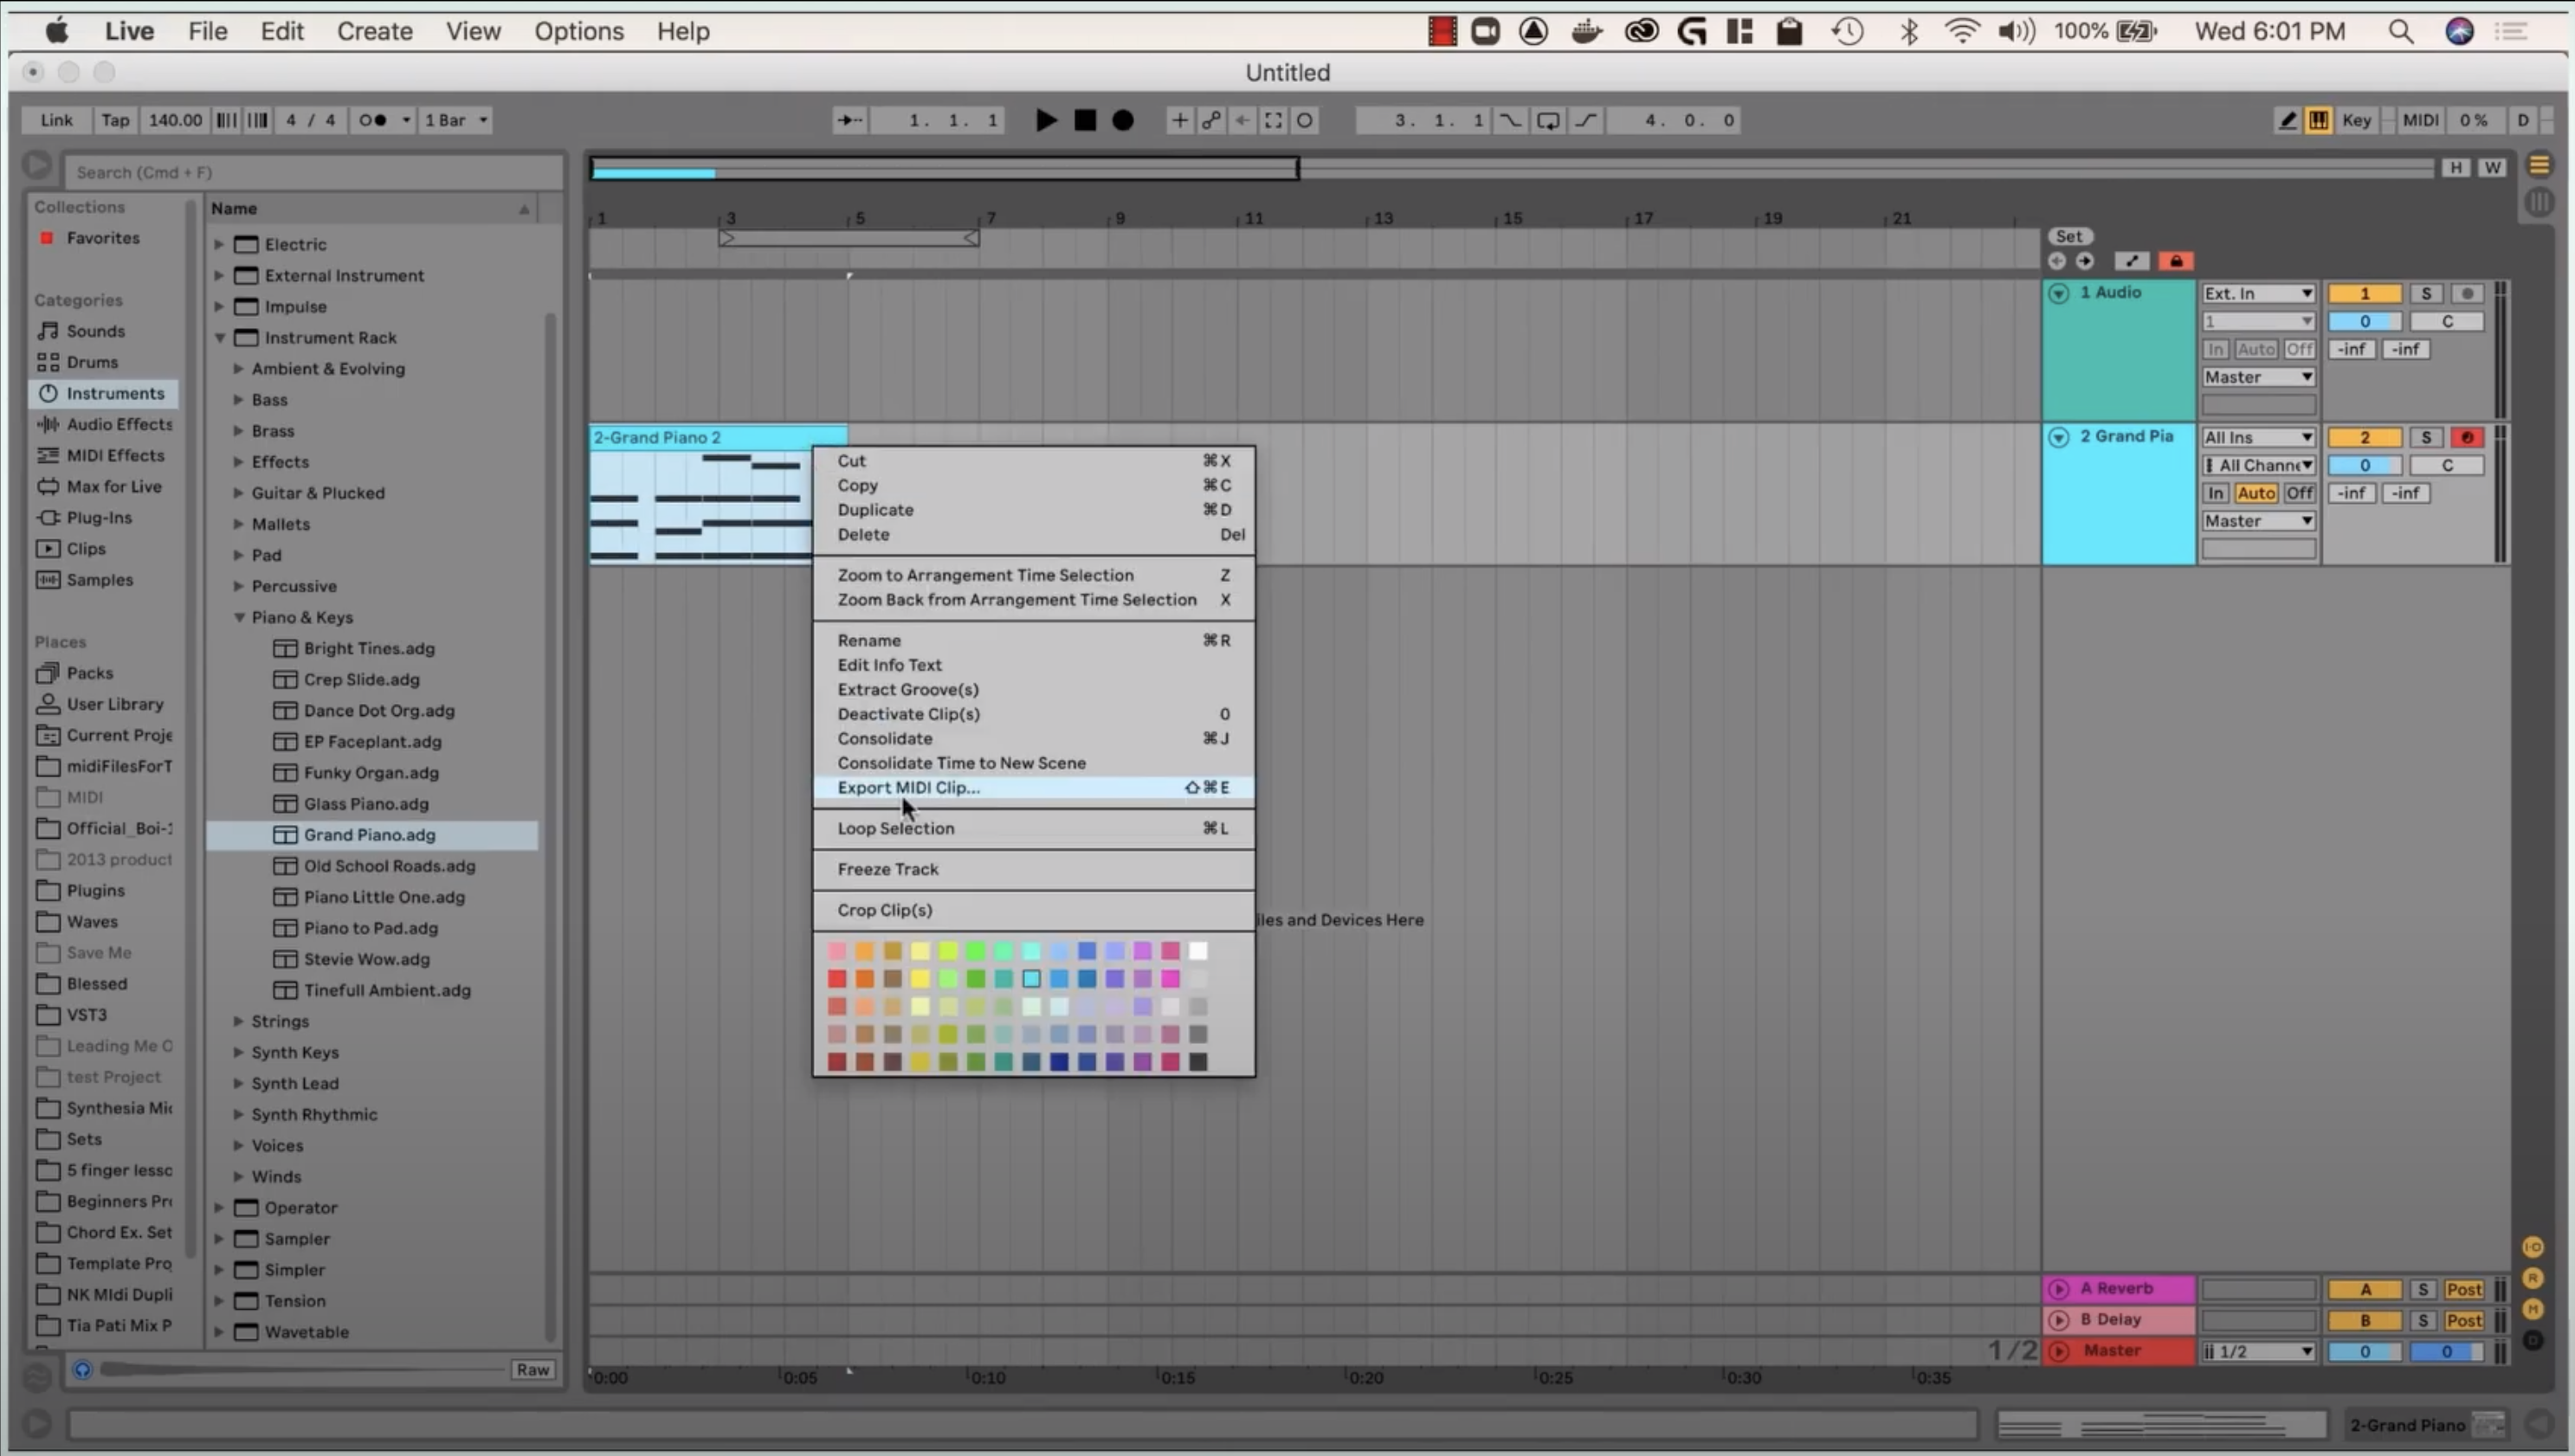
Exporting Your MIDI File
- To export a midi file, right clip on the MIDI clip and click export MIDI clip.
- Give it a name, click save and you’re done
Adding Sheet Music to your exercise
- You can also use your MIDI file to create notation.
- For tips on how to create notation from your MIDI file in Sibelius, click here.