Logic Pro Tutorial: How to create a MIDI file(and use it to create an XML)
 Updated
by Jack Keough
Updated
by Jack Keough
What is Logic Pro?
Logic Pro is a Digital Audio Workstation(DAW).This software program allows you to do anything from recording audio and MIDI, to signal processing and mixing. It’s a great tool for creating lessons for Middy! With Logic Pro, you can write, record, edit and export all of the files you need to get started.
Creating a MIDI file
What is a Midi File?
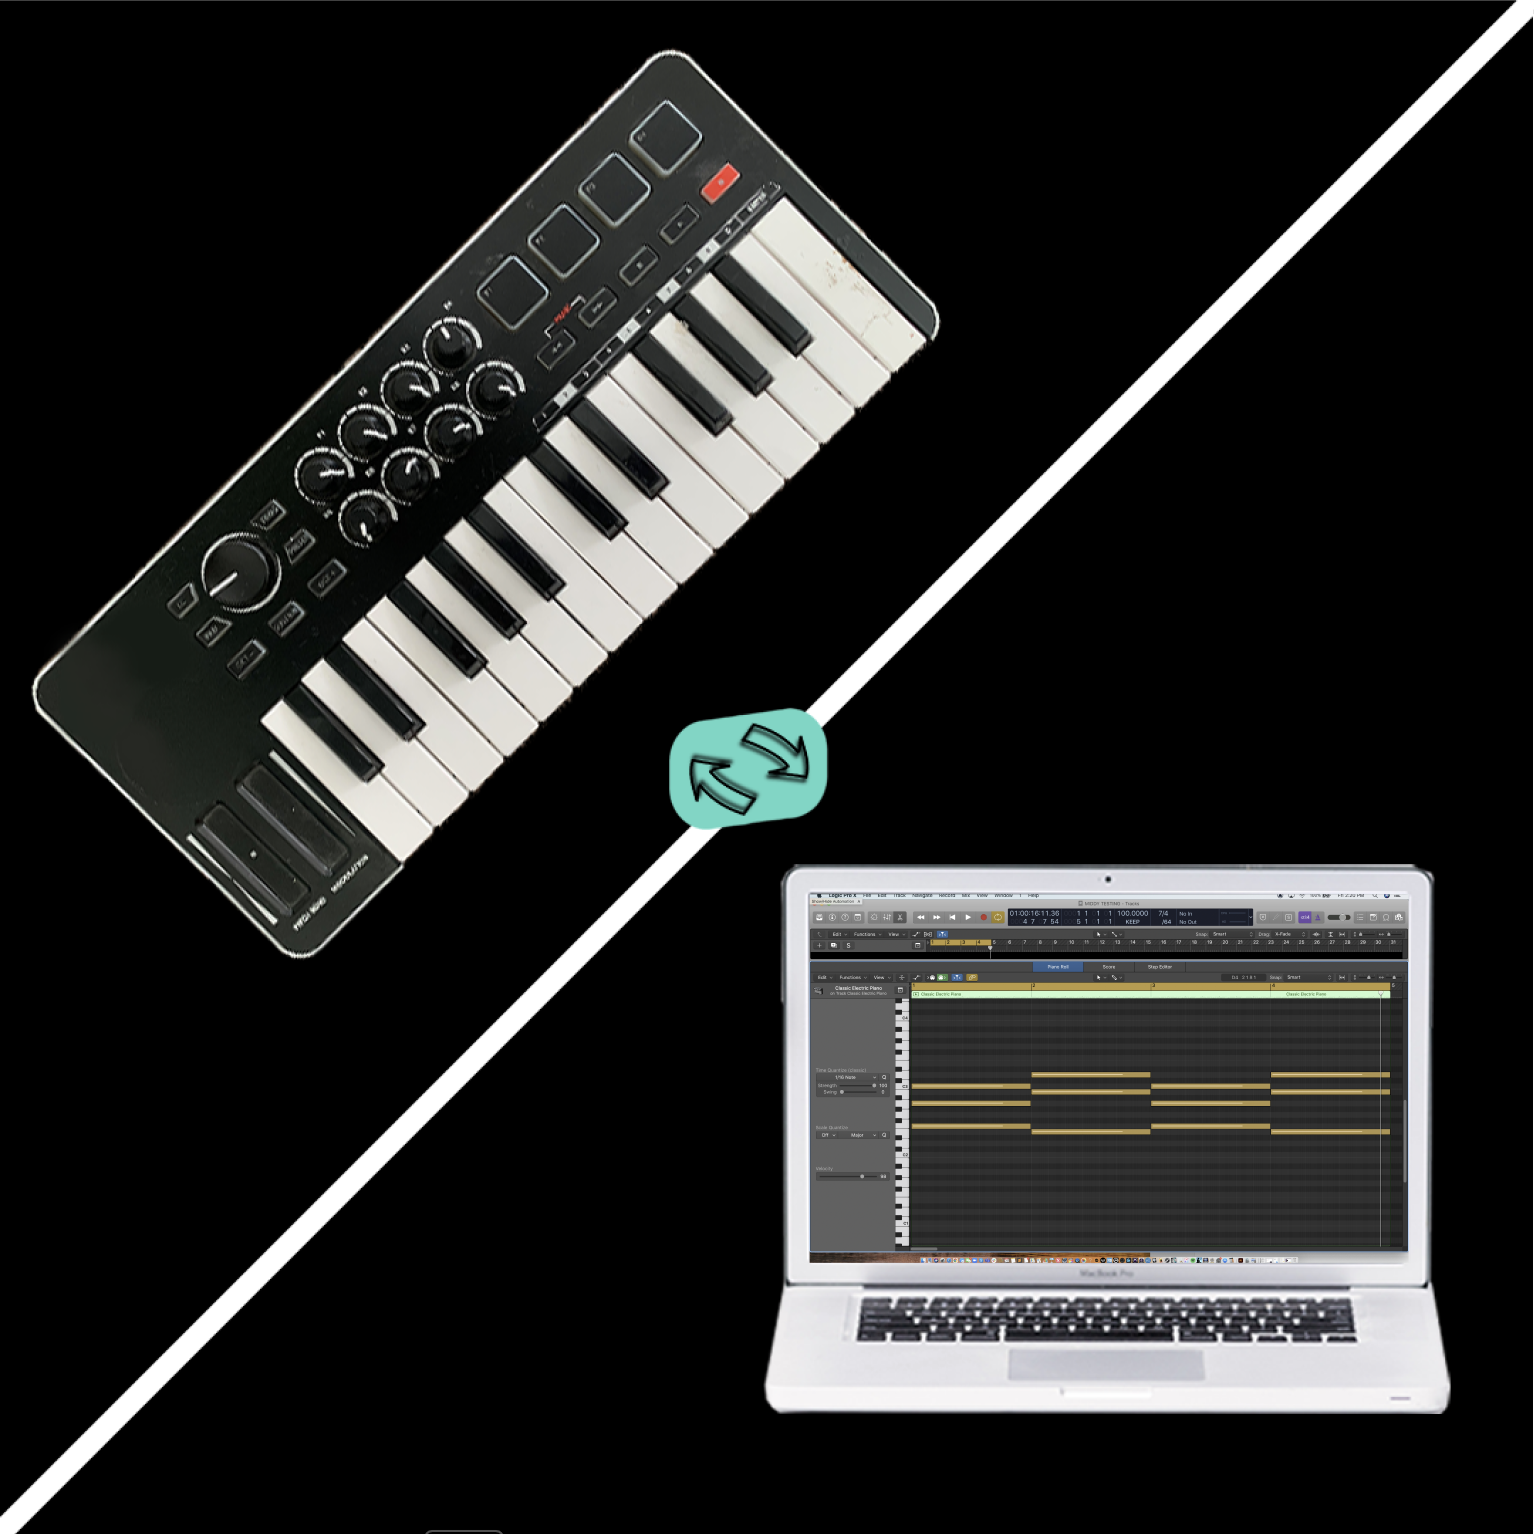
MIDI, which stands for Musical Instrument Digital Interface, is a way in which real instruments such as keyboards or other MIDI controllers connect to your computer via a USB or MIDI cable to trigger software instruments. With the software instrument, pitch, velocity, and tempo of your performance are all captured. All of these elements including the instrument itself can be edited in post. See how to connect your MIDI controller here. In Logic Pro, midi notes are recorded and housed in a region. The region can be cut, cropped, dragged, stretched and transformed as you see fit.
How to create a MIDI file
To create a MIDI file in Logic Pro, start by creating a software instrument track. Hit the plus sign in the top left corner of the main window to open the “create a new track” window. Select software instrument on the top left corner of this window and hit enter. Select the software instrument you want in the instrument slot of the channel strip of your new track. Now you are ready to record. Arm your track by pressing R in the main window on your new track and the press R on your computer keyboard to start recording. You have now created your Midi track.
Preparing your MIDI File for export
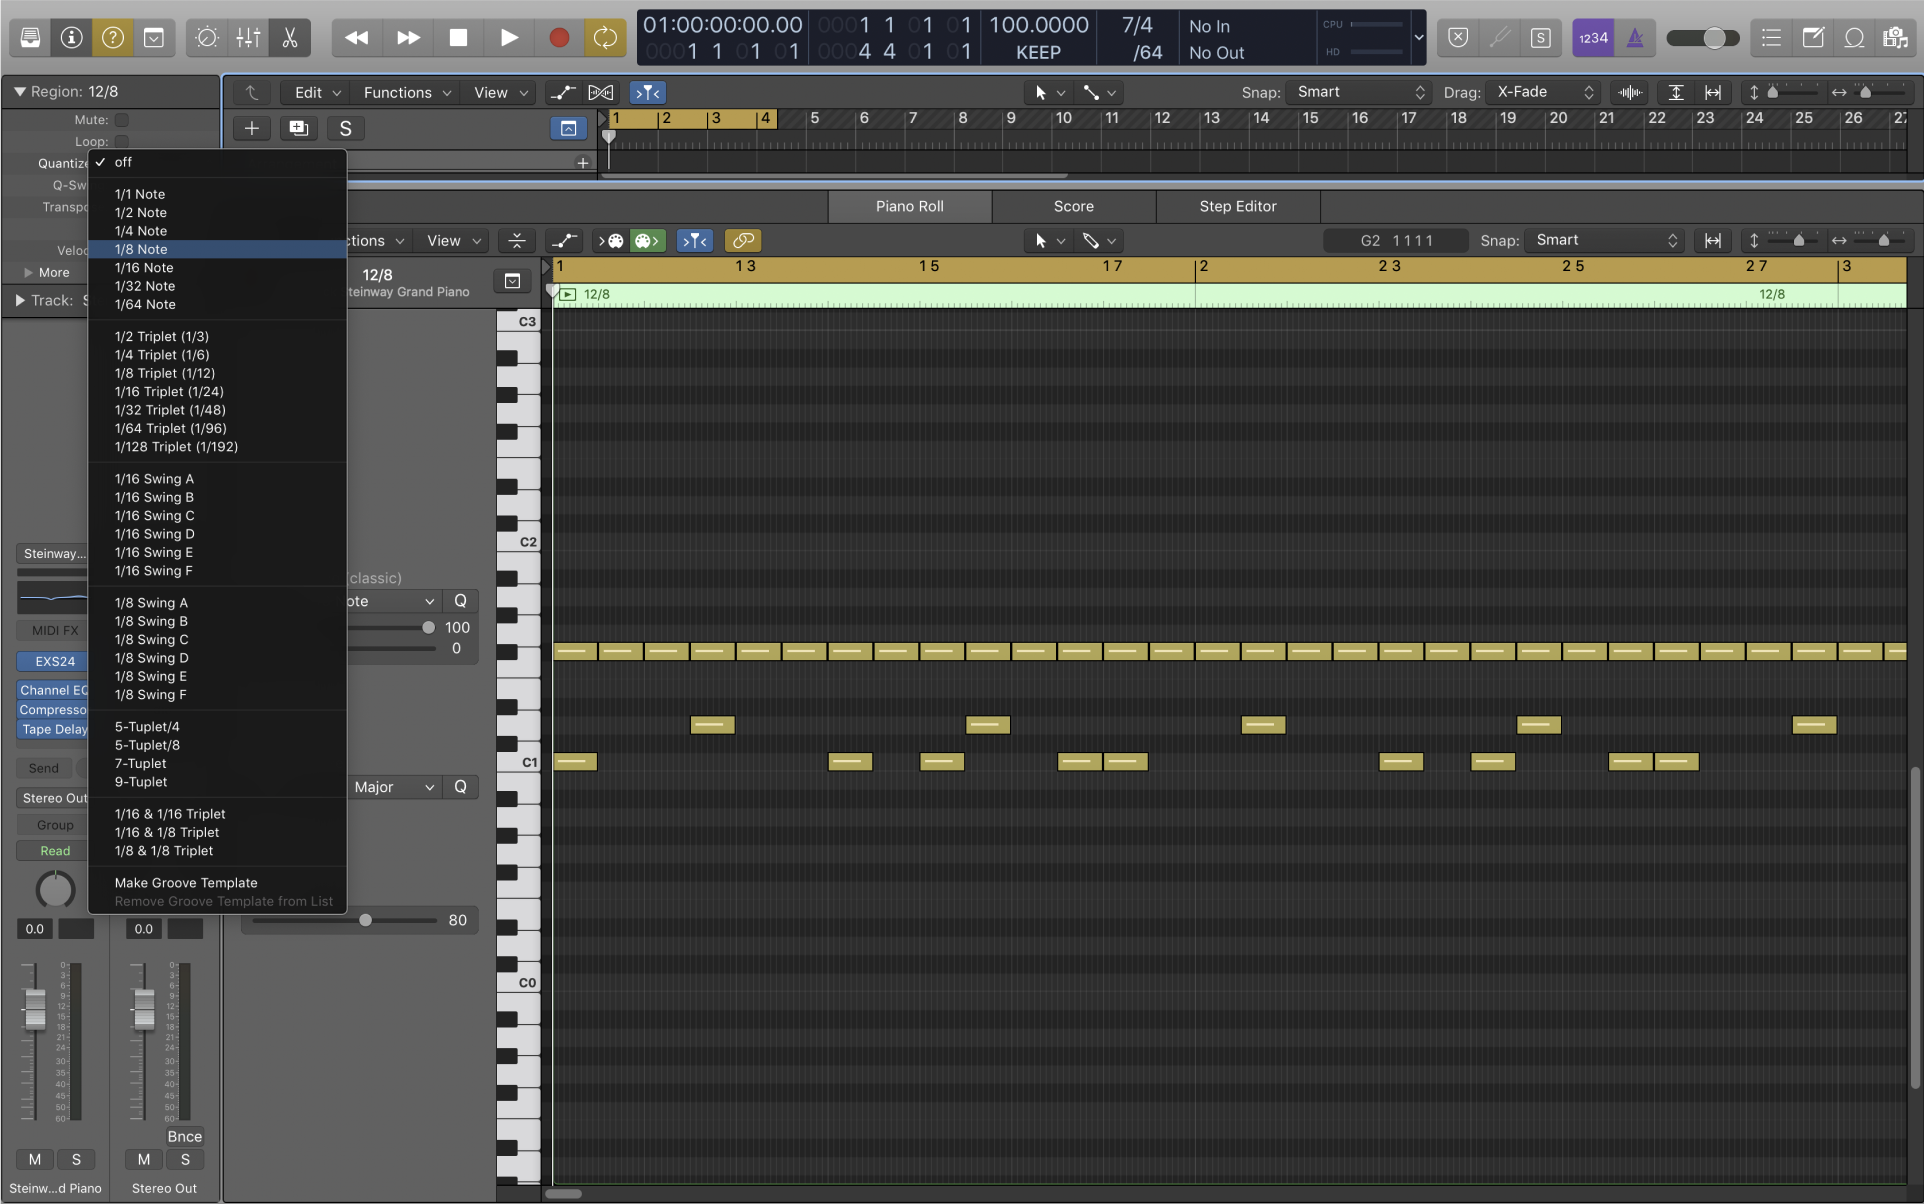
What does quantize mean?
Quantizing a file is the process of time aligning all of your notes to a specific tempo. When creating a lesson in Logic Pro, its is important to quantize the start and stop of the notes within the region you intend to export. This will make your exercise appear correctly when creating notation, and give your student an accurate model for what to play.
How to quantize your file
- Start by selecting the region.
- Then, in the top left of the main window, in the drop down menu for the region, select quantize and the rhythm your region is primarily using.
- Next, to quantize the end of your notes, open the region by double clicking it, and carefully select the notes that should end at the beginning of the notes that follow them, and press "Shift + \".
- Lastly, make sure your region begins at bar 1 by dragging the far left side of it all the way to the left in the track area of the main window.
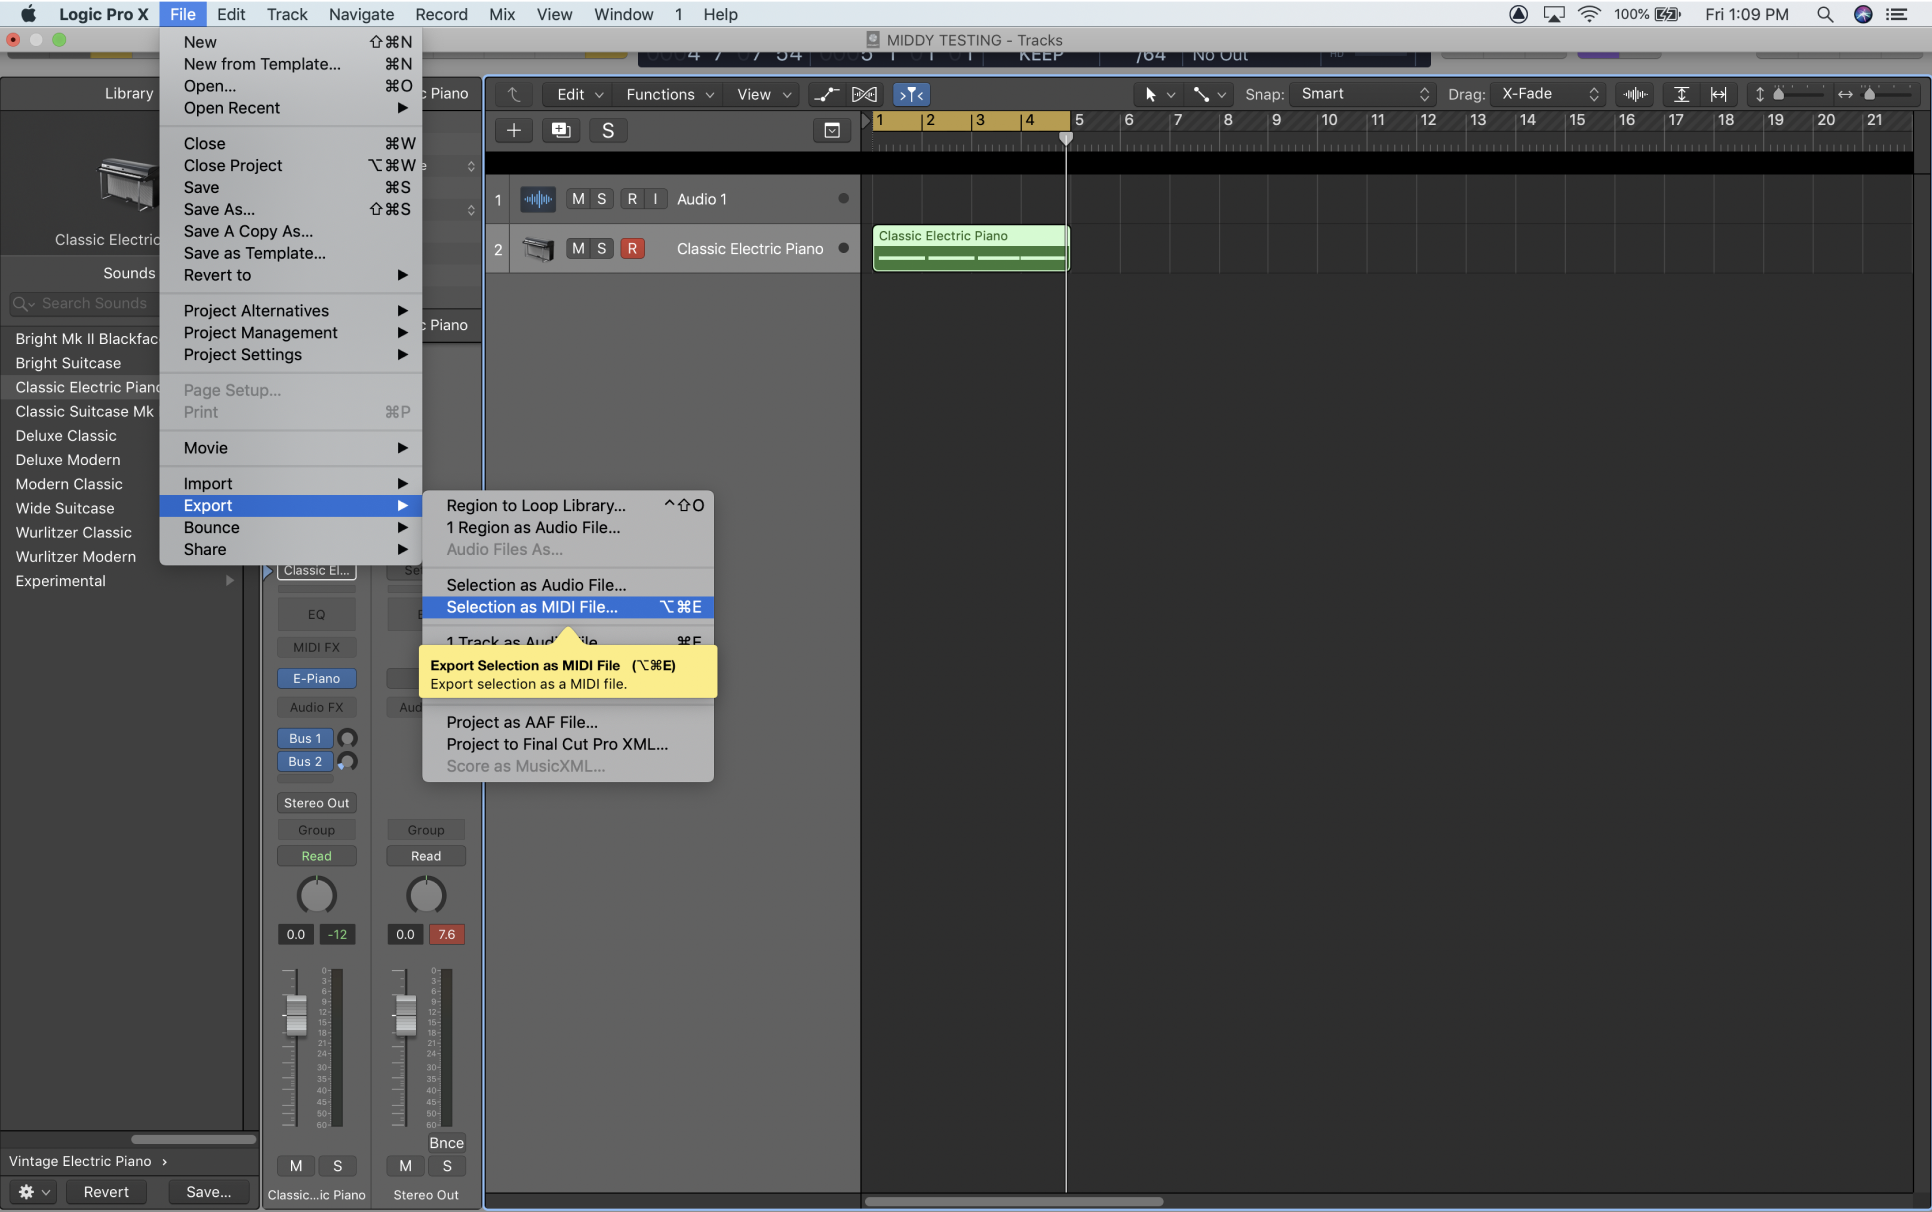
Exporting Files
To export your MIDI files, select the MIDI region for the student part, then go to file, export selection as midi file.
Adding Sheet Music to your exercise
You can also use your MIDI file to create notation.
For tips on how to create notation from your MIDI file in Sibelius, click here.